AI before and after renovation video from two photos
A still shows the result. A clip shows the change, which is the part that holds a scroll and the part a client remembers from a pitch.
Three ways to put a renovation in motion
All three run on the same page. Two of them make video; the third borrows the look of a photo you found and puts it on a room you own.
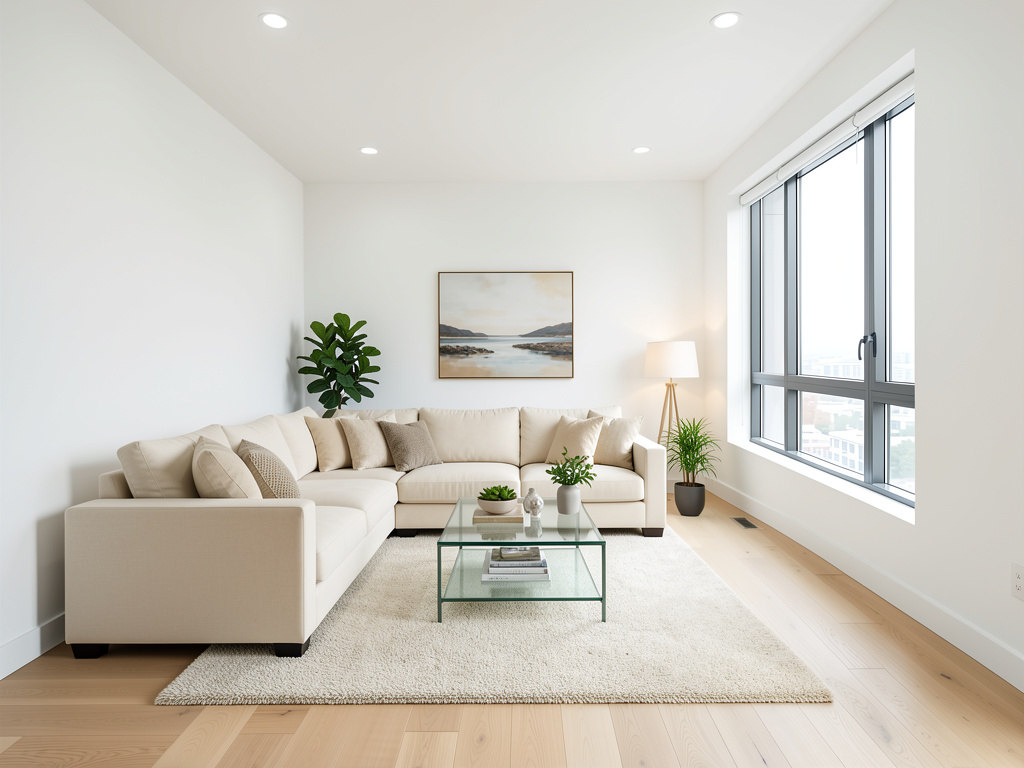
Before and after, as a reveal
Drop in the two photos and choose how the cut moves between them: gravity drop, bounce, explosive, light sweep, morphing, classic dissolve or a workers timelapse. Set the frame to 16:9, 9:16 or 1:1 so the clip lands on a listing page, a reel or a feed post without recropping.
A moving shot from one still, no drone
Drone mode reads depth from a single photograph and moves a virtual camera through it: orbit, push in, pull out, fly over the house, crane up or reveal the space through a doorway. No second image, no 3D model, no pilot and no airspace permission.
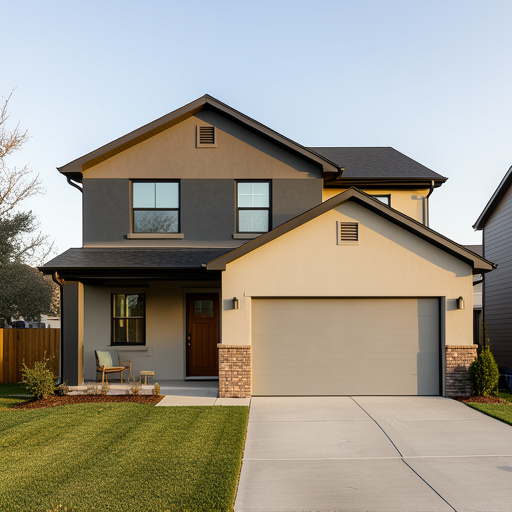
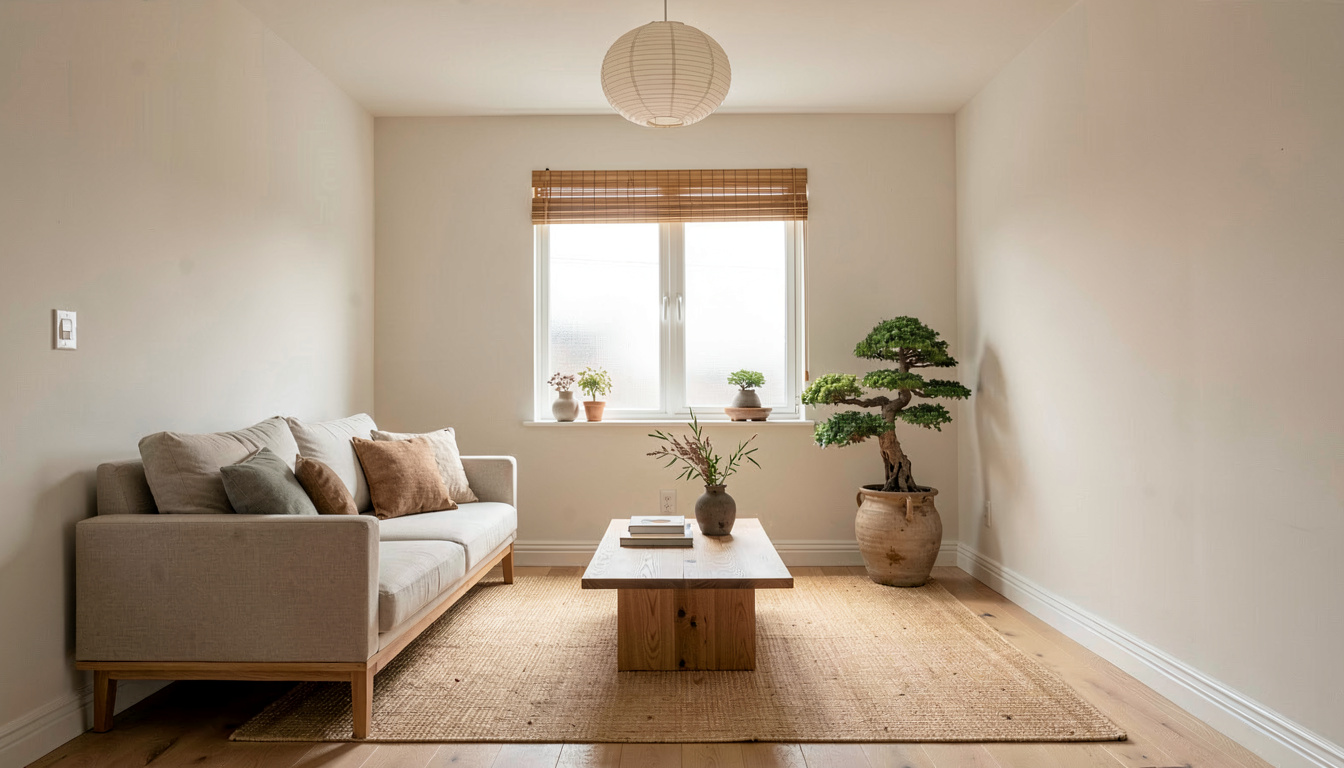
Style transfer from any reference photo
Give it your room and the photo whose look you want, then set transfer strength and colour intensity. Preserve room layout and preserve original lighting stay on by default, so the palette, materials and mood come across while the space stays recognisably yours.
How do I make a before and after video?
Add both frames
Upload the before photo and the after photo. Shot from roughly the same position, the transition has a stable frame to move through.
Pick a transition and a shape
Choose one of seven transitions, then set 16:9, 9:16 or 1:1 for wherever the clip is going.
Choose a length and render
3, 5, 8 or 10 seconds. The credit cost updates on the button as you choose, so the price is settled before you generate.
Frequently asked questions
What do I need to make a before and after video?
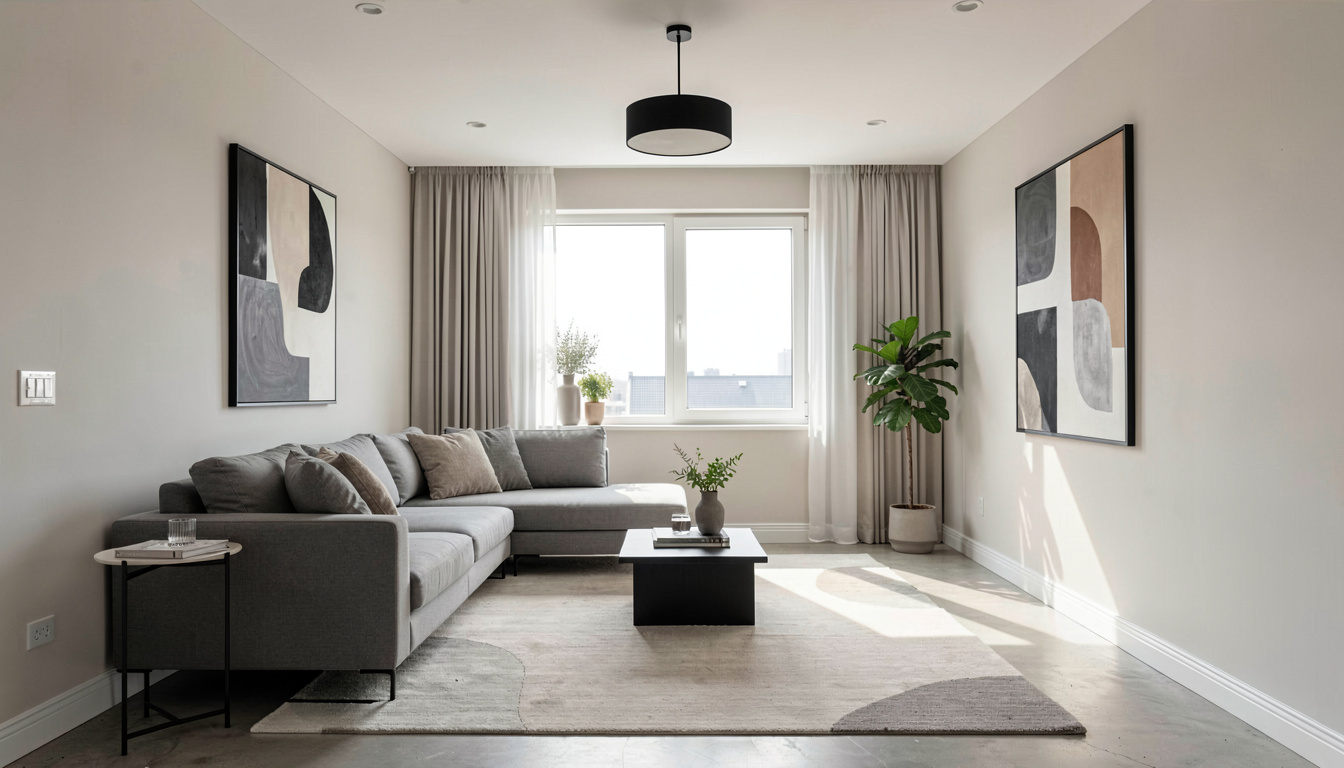
Two photos of the same room, one before and one after, shot from a similar position and angle. If you only have the before, generate the after with any of the design tools first and feed the render straight back in as the second frame.
What does a clip cost?
A clip takes about 45 seconds to render, against a few seconds for a still — leave the tab open. Clips are billed by the second at 3.2 credits a second: 10 credits for 3 seconds, 16 for 5, 26 for 8 and 32 for 10. A video is many rendered frames, so it costs far more to produce than a still, and that is why clips sit outside the 3 free designs — a free design covers a one-credit generation. You pick the length before you generate, so nothing is charged for a clip you did not ask for.
Can I make a video from a single photo?
Yes, in Drone mode. It infers depth from one still and moves a virtual camera along one of six paths: orbit, push in, pull out, fly over, crane up or a doorway reveal. It is the closest thing here to an exterior flythrough, with no drone and no pilot involved.
What aspect ratios can I export?
16:9 landscape, 9:16 vertical and 1:1 square, chosen before the render rather than cropped afterwards, so nothing important gets cut out of the frame.
What is style transfer for?
For the photo you saved months ago and cannot describe. Supply that reference and a photo of your own room, set how hard to push the transfer and how far to carry the colour, and the palette, materials and mood come across while your layout and lighting stay put.
Turn the reveal into something people watch
Two photos, seven transitions, and a clip short enough that people watch it to the end.
Make a before and after video